

The following are step-by-step instructions for creating a Registry profile. You will create and maintain only one CA ECE Workforce Registry account.
- www.caregistry.org click Create Profile, if you do not already have an account.
- You will enter personal information Your social security number is NOT required, unless you are participating in a stipend program. Social security numbers are encrypted for privacy and enable stipend program administrators to issue W-9s for tax purposes. All other fields are required.
- Be sure to read and agree to the Terms of Use and Privacy Policy and check the box to continue to the next page.
- Search for your employer or facility by typing in the name, address, or license. If you are a licensed Family Child Care provider or employee of an FCC, enter the license number or enter the last name, then first name, of the owner based on the license issued by Community Care Licensing.
- If you cannot locate your employer or facility after attempting various search options, select Employer Not Listed and enter the employer details. Registry Staff will use that information to update the facilities listed in CA ECE Workforce Registry.
- Continue to enter details about your employment, including job title, ages of children served, wages, languages spoken with the children, etc., and then continue with Registration. (Tip: report gross wages prior to taxes, weeks per year includes paid holidays.)
- Next select your highest level of education, how many college child development units you have completed, and if you hold a current Credential or Child Development Permit issued by the Commission on Teacher Credentialing or the Council for Professional Recognition.
- Go to your email and login to activate your account.
Be sure to print your CA ECE Workforce Registry Membership Card and use your Membership number when you send in your education documents and sign into trainings!

You can now enroll in trainings and upload your qualification documents to your profile!
When you log in to your Registry profile, you may get a notice that says your profile is incomplete which means:
- Your self-reported data does not match the documents on your profile. To update your profile, upload training and education documents to be verified by the Registry.
- Updating your profile can also include updating your personal information (email, password, address, etc.), missing required fields (e.g., date of birth, race, languages, gender, etc.), employer information, and educational information.
Upload Qualification Documents
For instructions on uploading documents, see the video below or go to Upload Your Training or Education Documents.
Upload Qualification Documents
Once you upload your documents, including transcripts, permits, training certificates, etc., it will take 6 to 8 weeks for Registry staff to enter and verify your documents before they show up on your Education & Training Report and before the “Your Profile May Be Incomplete” notification is removed. You can still access the Registry tools, even if your profile is incomplete, including enroll in trainings and apply for stipends.
You will create and maintain only one CA ECE Workforce Registry account.
Name change – To update your name, please contact the Registry at Email Support
Update Personal Information
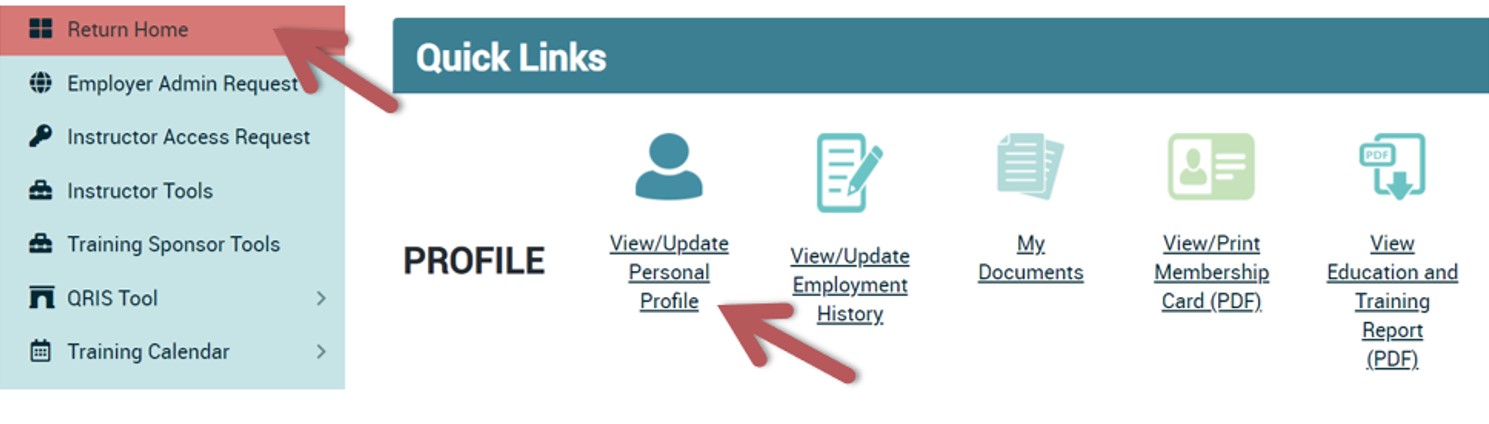
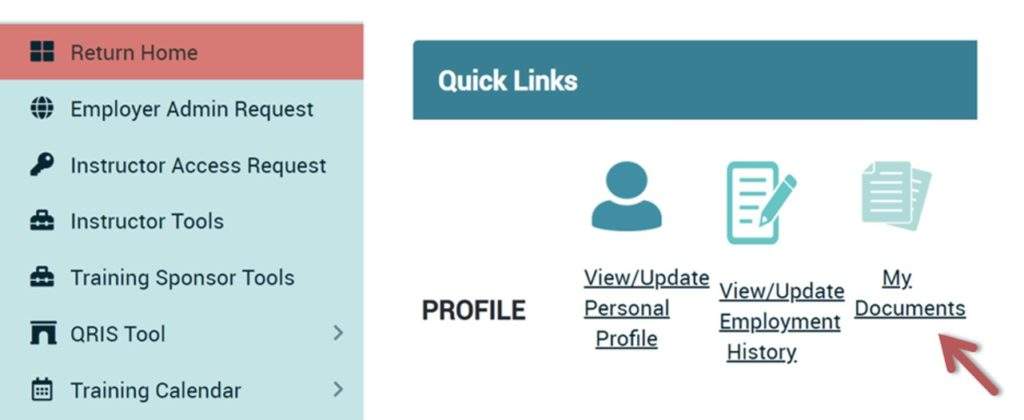
1. Log in to your Registry profile and select Return Home, then click View/Update Personal Profile.
*Note: The Quick Links (icon links) allow you to edit your Registry Profile, but you can also view your Education and Training Report, create a resume, and upload your education and training documents in the “My Documents”.
2. Click on Edit on the “Profile Editor”.
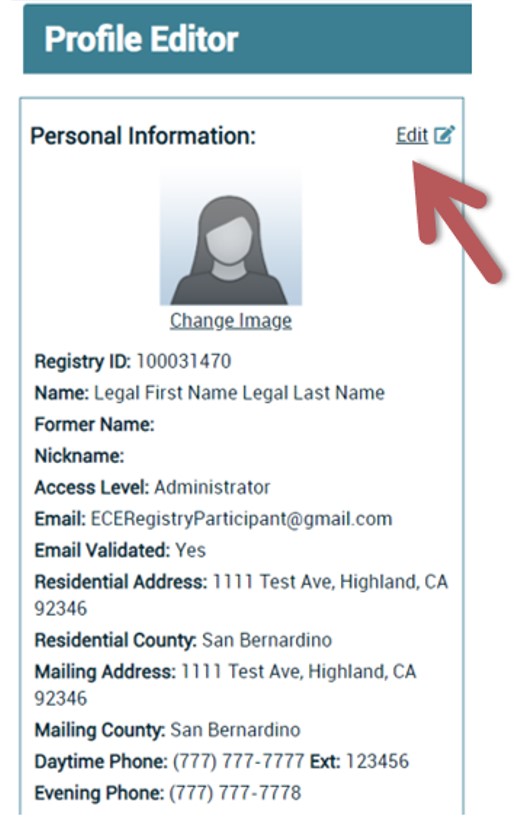
3. On the “Profile Editor” you can edit your personal information including changing your email, password, contact information, self-reported educational information, and demographic information.
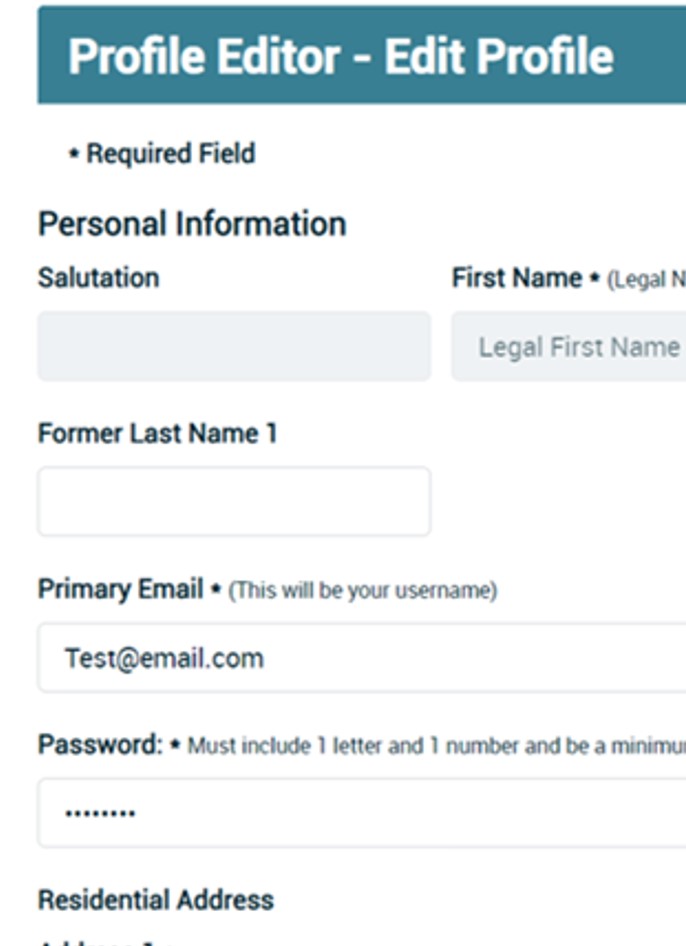
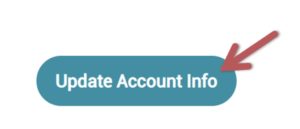
4. Make sure to click Update Account Info at the bottom of the page when you are finished with edits.
See video in Spanish
If you have a new job title, number of hours worked, or pay rate you can make updates from the Return Home, “Quick Links”, View/Update Employment History or by going to My Tools and Settings and My Profile on the left-hand toolbar.
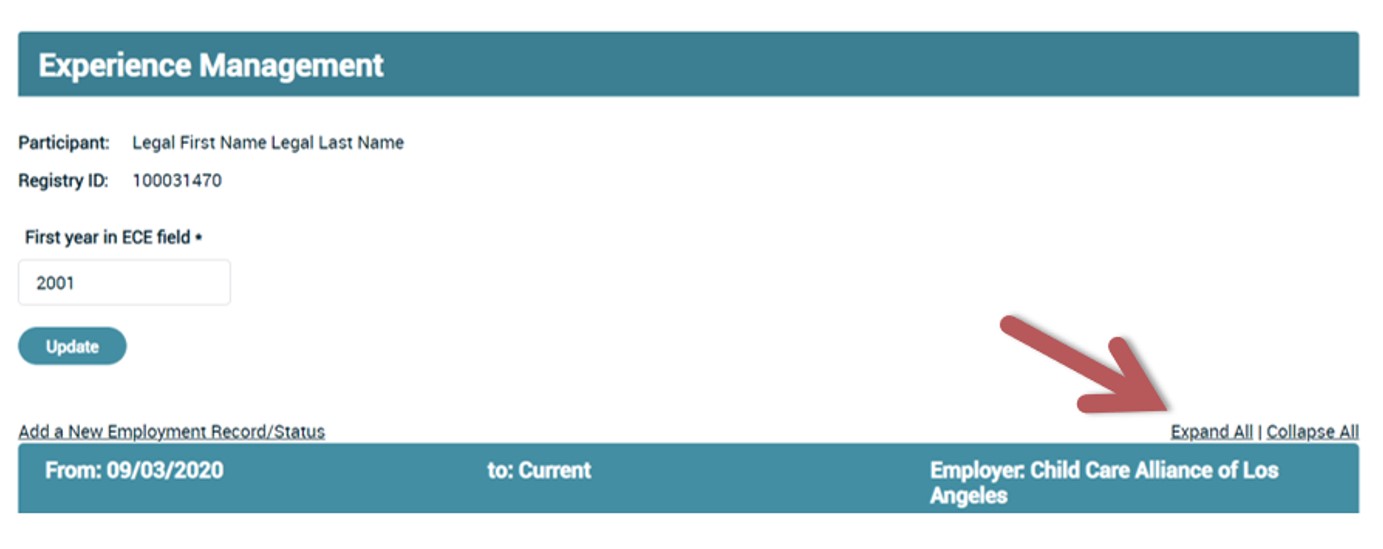
- Select Expand All and Edit Position to access the fields. This step includes ending this record to keep your past data. You will create a new record for your employment updates; see the next section, Add New/Additional Employer to create a new record for your updates. Even if you are at the same employer but are changing job title, for example. See image on next page.
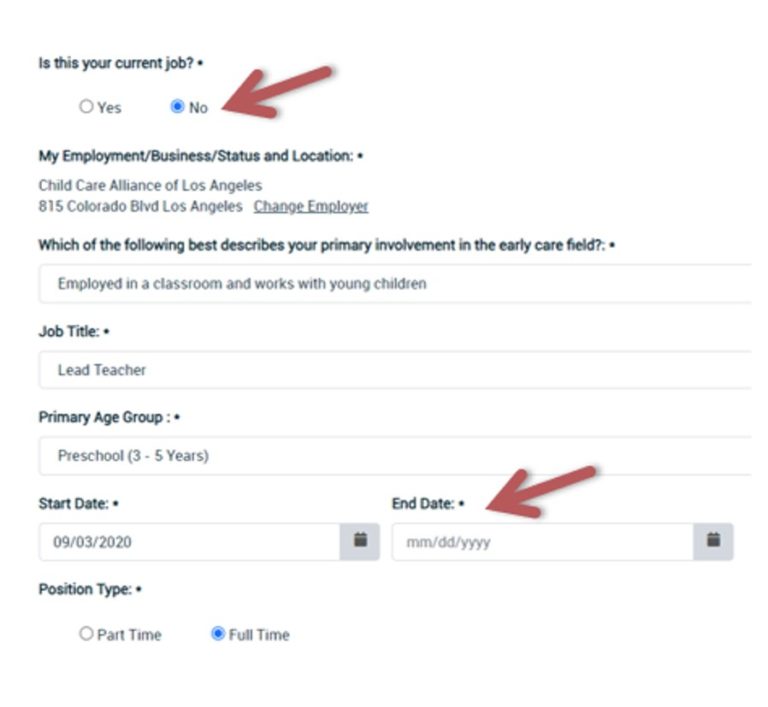
- Click No for Is this your current job?
- Enter the End Date for that role (job title, pay change, hours worked, etc.)
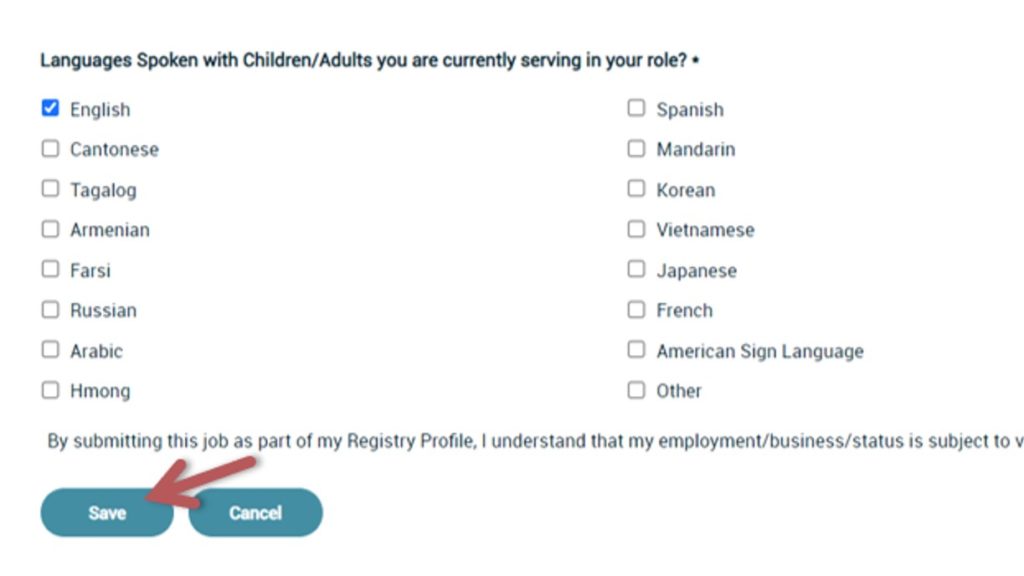
- Remember to select Save Employment Info.
Please check past employment for accuracy and make sure that Job Title reflects role (for example, if you work for or own a FCC, you are not a contractor).
If you have a new job, need to update employment information, or have more than one employer, make updates from the Return Home, “Quick Links”, View/Update Employment History or by going to My Tools and Settings and My Profile.

- Select Add a New Employment Record/Status
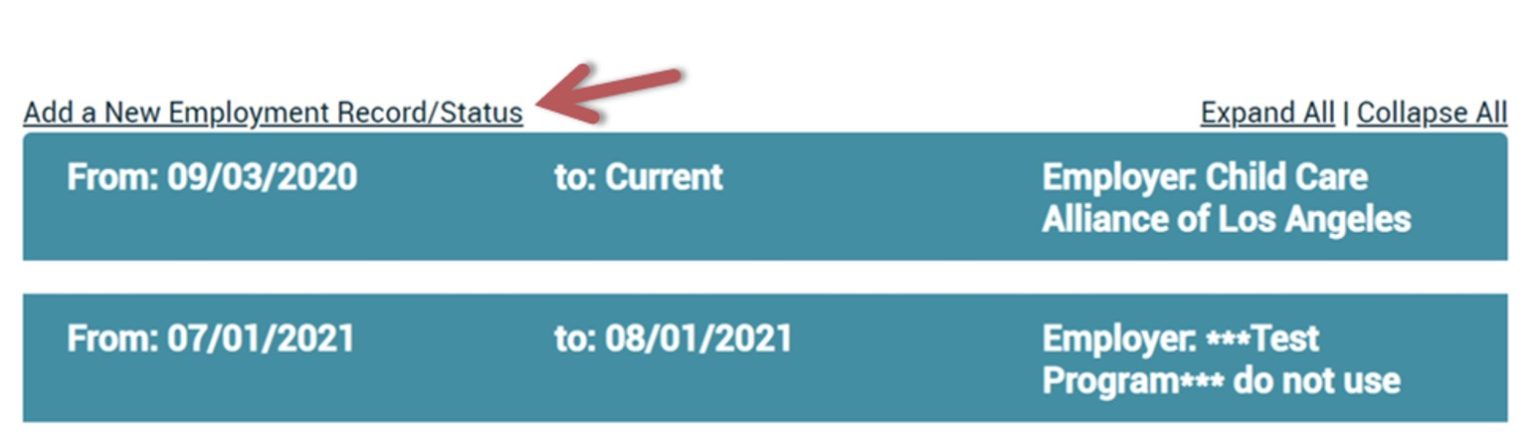
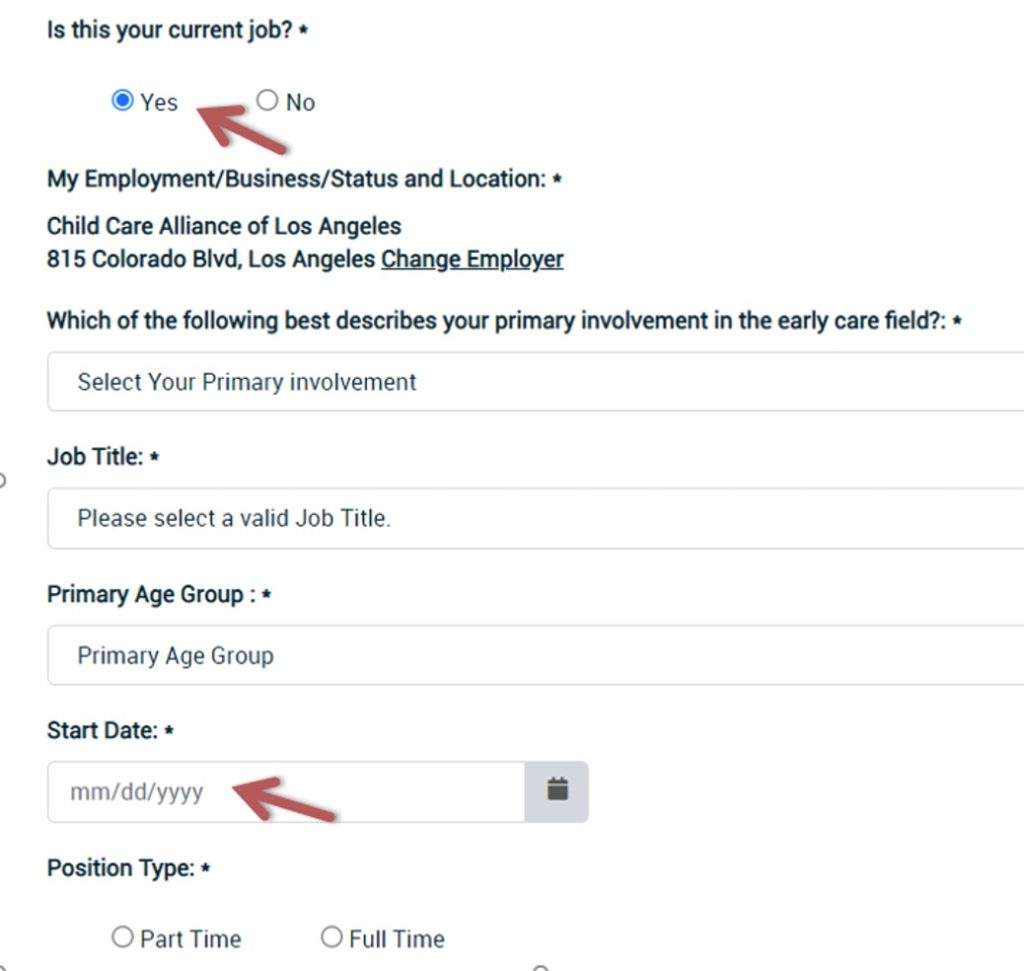
- Select Yes for “Is this your current job?”
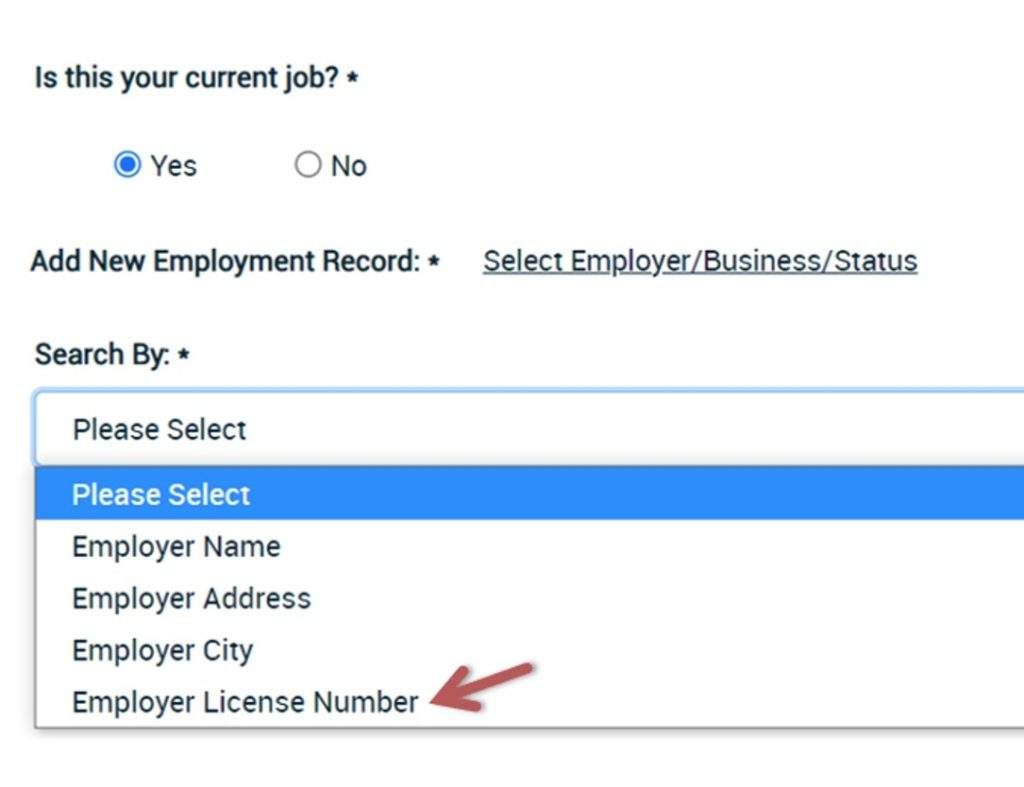
- Click Select Employer/Business/Status
- On the field “Search By:” click on dropdown menu so that you can search by Employer Name, Address, City, or License Number. (Searching by License number is the easiest method of identifying child development employment location.)
- Next to “Search By:”, there is a Question Mark icon; click to view detailed information about types of employment/status, including if you are licensed exempt or unemployed.
- If you are a licensed Family Child Care owner or employee of an FCC, enter the license number or last name, then first name, of the owner based on how the name is displayed on the license issued by Community Care Licensing.
- If you cannot locate your employer or facility after attempting various search options, select Employer/Business Not Listed and enter the employer/business details. Registry Staff will use this information to update the facilities listed in CA ECE Workforce Registry and link you to your employer/facility.
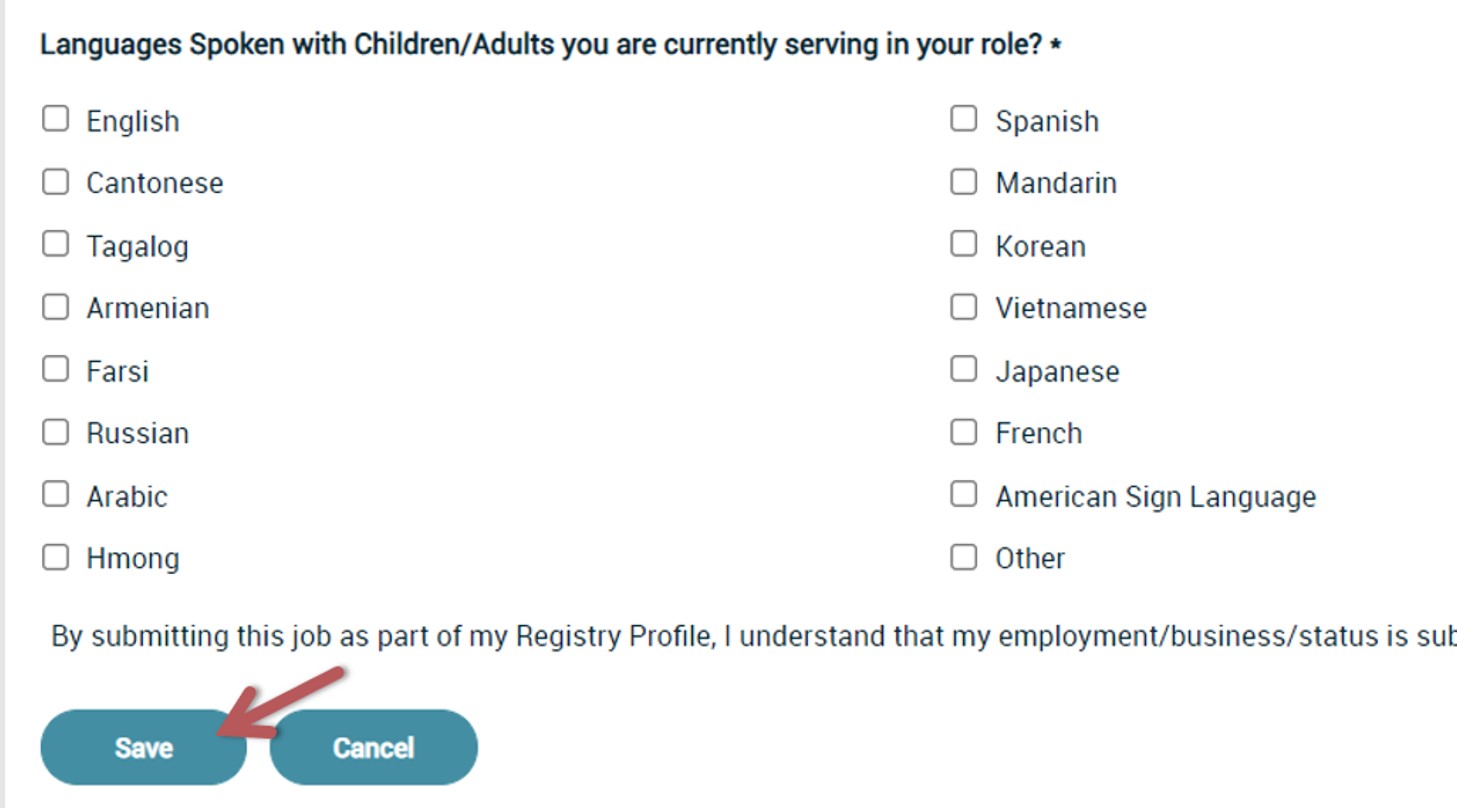
- Continue to enter details about your employment including job role, job title, ages of children served, wages, languages spoken with the children, etc., and then continue with Registration (Note: report gross wages prior to taxes, weeks per year includes paid holidays).
If you have more than one employer, you will indicate that employment is Current and the number of hours that you work.
If you are a FCC Owner or work in a FCC, select Owner/Operator of a Licensed FCC or Employed in a family child care, then select Job Title. FCC owners will see Owner/Operator twice.
Note: If your employer has verified your employment, you will not be able to edit your employment. You can “Add a New Employment Record” to change your employment record.
Hours worked: Report hours of operation or hours of paid work.

Compensation Type
If you are a FCC Owner, you can estimate hourly rate based on the number of children in your program, times your daily rate per child, then divide by hours of operation.
Employees can contact their HR for rate of pay or check their pay stub for hourly pay (for salary, divided pay rate by number of hours worked).
You can provide this information based on total reported gross income for last year (how much you made before taxes) if you were in operation.
Your self-reported income data is only shared with your employer or Authorized Officials when you apply for a stipend program that has income thresholds for eligibility as outlined in the Registry Privacy Policy.
ECE Employers, Centers, School-site, and FCC Owner Administration
If you are a Family Child Care owner or center administrator, you can apply for Employer Administrative Access and be able to manage staff documentation requirements including being able to generate Staff Education & Training Reports, confirm staff employment on the Registry, enroll your staff into trainings, and access the job board to post your vacancies.
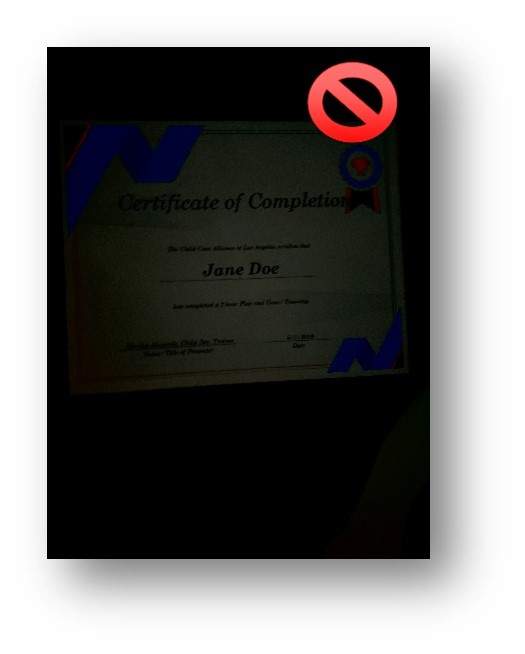
You can take photos of your documents to be uploaded to your Registry profile! Store your training certificates, permits, and transcripts on the Registry. The document’s information must be clear and legible so it can be properly verified by Registry staff. If the document is not clear or legible, the document cannot be uploaded nor reflected on the participant’s Registry profile or their Education and Training Report.
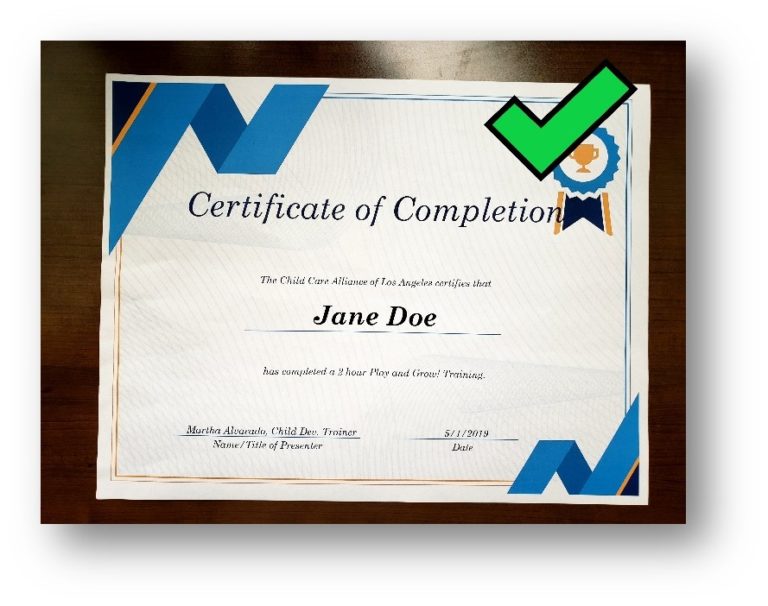
Legible Copy
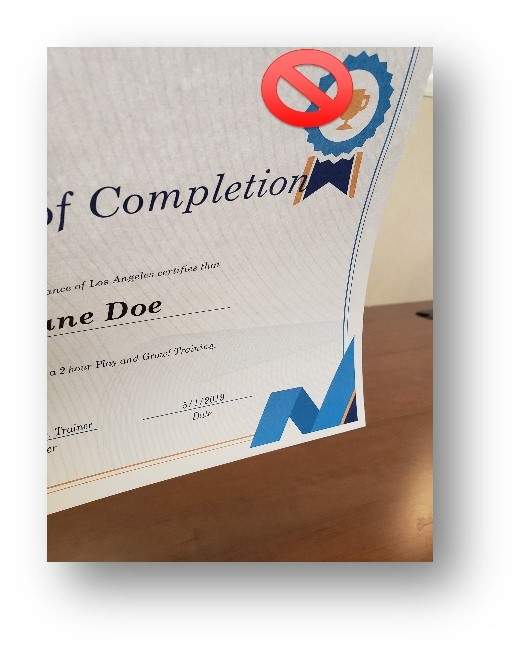
First, make sure the copy you are taking a photo of is clear, legible, and free of marks, writing, or stains. Review the following examples to assure your photo is taken properly:
Tip 1: Make sure there is plenty of light or the photo may come out too dark.
Tip 2: Keep your camera/phone steady. Too much movement will cause the photo to appear blurry.

Tip 3: Place the document on a flat surface and center the document on your camera so edges aren’t cut off.
Next Steps
For instructions on uploading documents and document requirements, refer to the instructions on how to Upload Your Training and Education Documents or see the Upload Documents Video below.
Your Registry profile functions as electronic professional portfolio where you can upload transcripts, California Child Development Permits, California Teaching Credentials, professional development hours, and other certifications. This enables you to have a consolidated record of your professional and educational accomplishments.
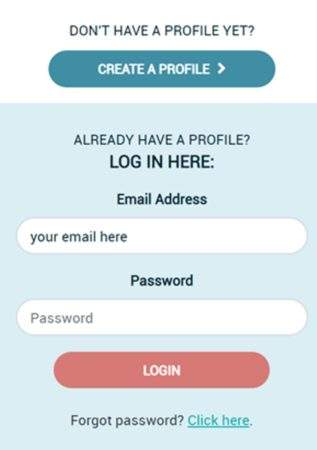
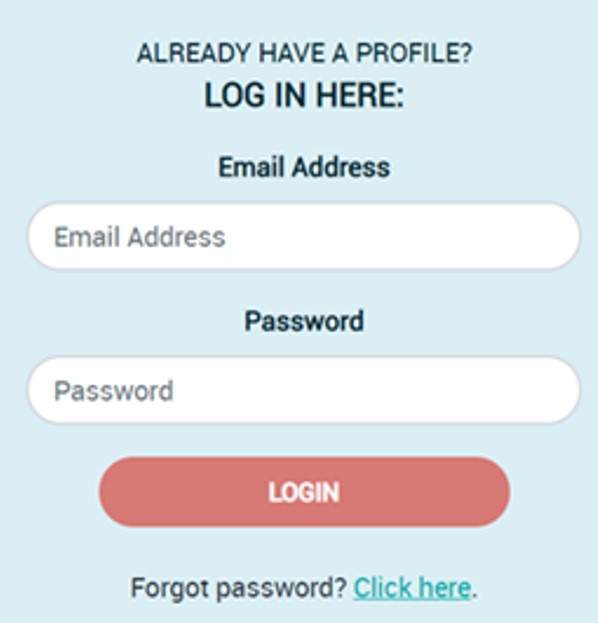
Create a profile or Login to your Registry Profile at www.caregistry.org.
Enter your username (the complete email address associated with your Registry account). If you forgot your password, click on “Forgot your Password?” below the login.
Training Calendar allows you to search for and enroll in trainings!
My Training Events lets you view your enrollments and withdraw from events.
Stipends are available in participating counties.
Incomplete Profile
When you log in to your Registry profile you may get a notice that says your profile is incomplete. This means that your self-reported data does not match the documents that you have submitted and have been verified by the Registry. Updating your profile can include updating your personal information, employer information, and educational information.
Click on My Tools & Settings for profile tools:
Update My Profile including contact information, employer updates, and educational obtainment.
Resume Builder tool to track experience
My Education & Training Report – Verified training and education documents on your Registry Profile from trainings on the Registry and uploaded documents.
My Documents is where you upload your education and training documents: For instructions on uploading documents refer to Upload Your Training and Education Documents.

View/Print Membership Card to easily access your Registry ID number which can be printed as a card or store your Registry ID in your phone contacts.
For permit or credential information, go to: https://www.ctc.ca.gov/
Before you upload a document check and see if you need to upload:
- Do you need this document on your profile?
- For Example:
- Outdated CA Child Development permits and Teaching Credentials are not needed.
- Training certificates that do not have an issuer, training title, training hours earned, completion date, training participant name, and verifier or instructor signature, if applicable, can not be verified.
- Diplomas are not needed – but transcripts with degree conferral dates are needed.
- Is the document old and you are not participating in a program that would require it?
- For Example:
- Permits PD – go back 5 years
- CCIP trainings – go back to 2017
- QRIS – Usually 1 year (check with your QRIS coordinator)
- For Example:
- Check that the document is not already on your Education & Training Report. To view your report, log in to the Registry and go to the left hand tool bar “My Tools & Settings” and click on “My Education & Training Report”.
- Did the training organization collect your Registry ID? For example, California Early Childhood Online (CECO) will import those attendance records within 24 hours so you do not need to upload the certificates. Make sure your Registry ID is correct and provided to training organization and/or entered in your CECO account.
- Did you enroll on the Registry? Check with the training organization, as they should be confirming your attendance on the Registry. Please refer to the “Training Organizations on the Registry” list under “My Resources” in the Registry to see a list of approved Training Sponsors.
What documents should you upload?
- Foundational trainings (e.g. PITC trainings)
- College transcripts – Transcripts must include all pages and be legible. If you have a degree the transcript must include the date of conferral. The Registry does not accept diplomas.
- CA Child Development Permit and Teaching Credentials (current)
- Training certificates and certifications (current) for training organizations not on the Registry
Tips on Uploading Documents:
- Enter documents one at a time, not multiple trainings on one upload.
- Include a description of the document to assist you and Registry staff in uploading/processing documents
- You can upload images (photos) if legible. Note: maximum upload size is 5 MB per file.
Uploading Documents
Step 1. Login to your Registry Profile
First, login to your Registry profile at www.caregistry.org. Enter your username (the complete email address associated with your Registry account) and password, and then click on Login. If you forgot your password, click on Forgot Password? to recover your password.
Step 2. Click on My Documents
Next, click on the My Documents “Quick Link”. This will bring you to the document upload page. Here you will be able to see any document that you have previously submitted or uploaded to your Registry profile.
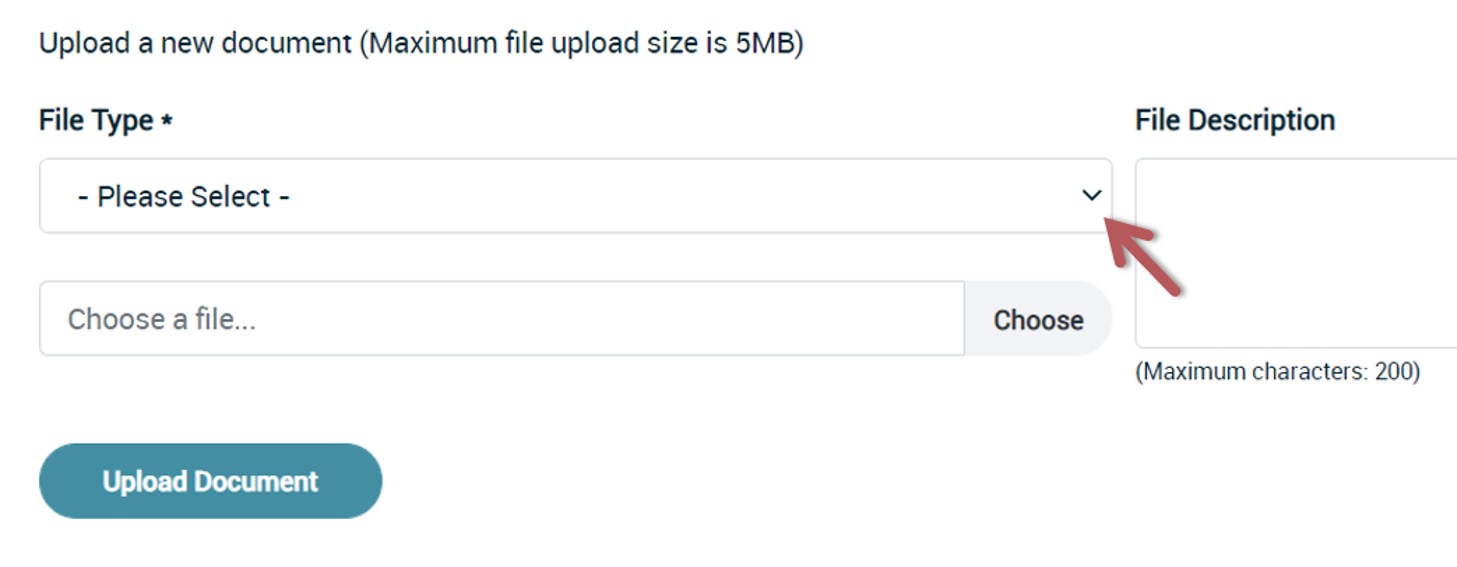
Step 3. Select File Type
Select the type of file you would like to upload. When uploading a training certificate on My Documents, please select Training on “File Type” – “Certificate” is for certifications that expire.
Add a description in the File Description box when uploading a new document on My Documents this information will assist you during the document upload process and Registry staff process documents.
Please see the guidelines below for description examples for different document types:
Training: Enter the name of the training sponsor and training title
Certificate: Enter the name of the certification along with the expiration date (e.g., “General Training – Mandated Reporter, 3/20/2022”)
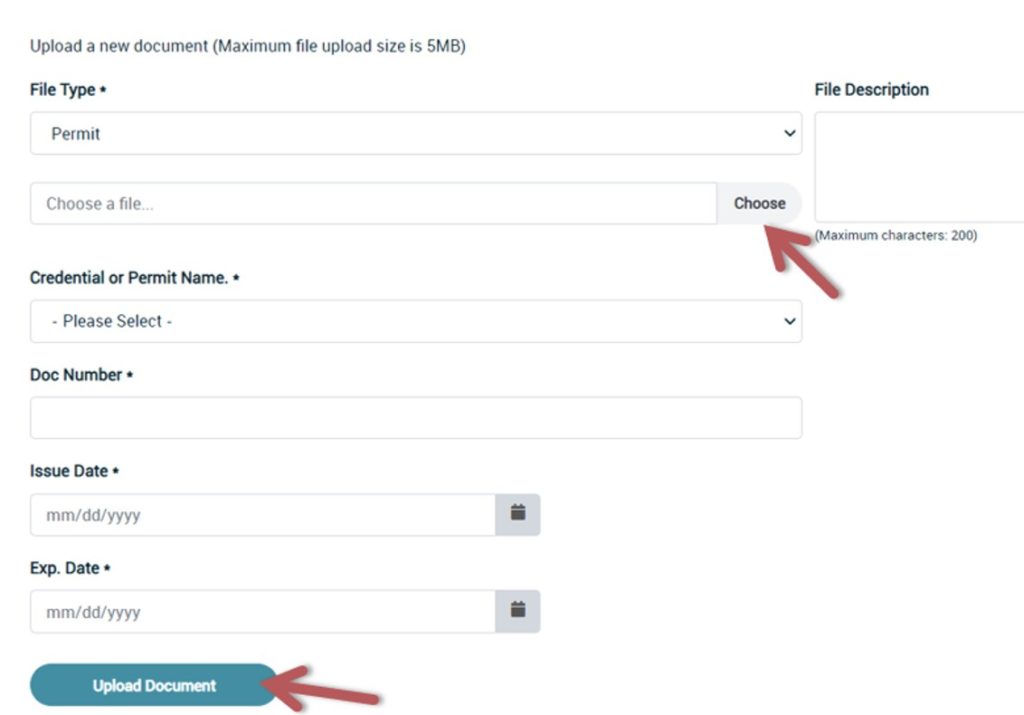
Permit: Enter the name of the permit and the expiration date (e.g., “Associate Teacher, 3/20/2022”)
Credentials: Enter the name of the credential and the expiration date (e.g., “Administrative Services, 3/20/2022”)
Unofficial Transcript: Name of institution and transcript issue date (e.g., “San Jose State University, 2/2/2020”)
Official/Registrar Transcript: Name of institution and transcript issue date (e.g., “UCLA, 2/2/2020”)
If you upload a California Child Development Permit or California Teaching Credential, the Registry will prompt you to enter the name of your permit or credential, the document number, issue date, and expiration date before you can continue. Please enter this information correctly. If there is a mistake in this information, Registry staff may be unable to verify your document.
Step 4. Find File in Computer
After indicating the file type and entering any necessary information, click on Choose File and browse your computer for the file you would like to upload. Files can be in .doc, .pdf, or .jpg formats. After you select the file, click on Upload Document, your file will appear on your Uploaded Documents.
Step 5. Document Verification
After you upload your document, your document will be entered into a queue for verification by Registry staff. Registry staff will confirm the information on the document, input any relevant information to your Education and Training Report, and then verify the document. Once your document has been verified, Registry staff will email you informing you that your document has been verified and that your profile has been updated. If Registry staff cannot verify your document, they will email you explaining why the document could not be verified and assist you in submitting a verifiable document. Please permit 6 to 8 weeks for your document to be verified.
While Registry staff verify your documents, you will be able to view your document on your Registry profile. If your current employer has Administrative Access on the Registry, they will also be able to access your uploaded documents while you are waiting for your documents to be verified.
Please note that your Education and Training Report will not be updated until Registry staff have completed the verification process. While your document remains unverified, you will be able to delete the document in case you mistakenly upload the wrong document and need to re-upload the correct one. Once the document has been verified, you will no longer be able to delete the document and will need to contact the Registry Help Desk if you would like to remove that document from your profile.
Step 1. Login to your Registry Profile www.caregistry.org.
Enter your username (the complete email address associated with your Registry account) and password, and then click on “Login.” If you forgot your password, click on “Forgot Password?”
Step 2. Click on Training Calendar and Training Search
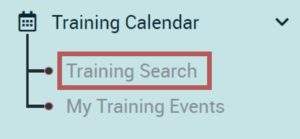
Step 3. Find the Training You Wish to Enroll In
There are several fields you can use to search for the training you need to enroll in.
Step 4. Find Correct Training
Find and click on the training you wish to enroll in, then click on View Event Details. Make sure you have selected the correct training.
Step 5. Review Event Details
View the details of the event like date, location, time, duration of training, knowledge areas, cost as well as other information then click on the Enroll Now button on the top or bottom of the page.
Step 6. Participant Information Review
Review your profile information that will be sent to the training organization. If all your information is accurate, click on the Confirm and Continue Registration button.
Step 7. Enrollment Confirmation
Review the training information one last time. Before completing the enrollment, you must click on the box labeled I Agree. Feel free to click on the Privacy Policy link for more information.
Confirmation Page and Email
After enrolling in the training, you will view a confirmation page and receive an email with the training information.
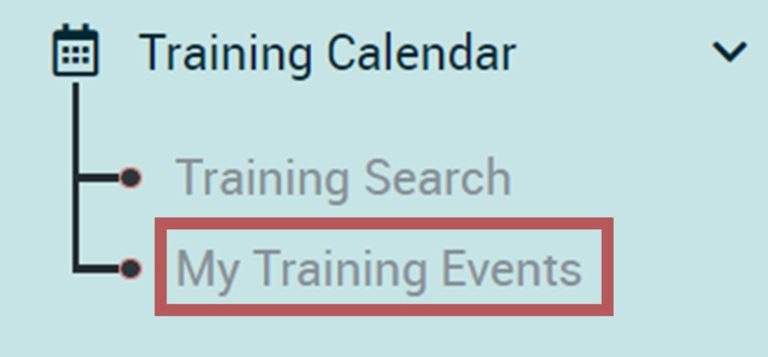
View Enrolled Trainings
View a list of trainings you have enrolled in by clicking on My Training Events under the Training Calendar dropdown menu.
*Please note, each Training Sponsor agency has their own Self-Withdrawal Window which can vary in the amount of days people can self-withdraw before the training occurs. If you cannot withdraw from a training, contact the agency providing the training for assistance.
Step 1. Login to your Registry Profile www.caregistry.org.
Enter your username (the complete email address associated with your Registry account) and password, and then click on “Login.” If you forgot your password, click on “Forgot Password?” to recover your password.
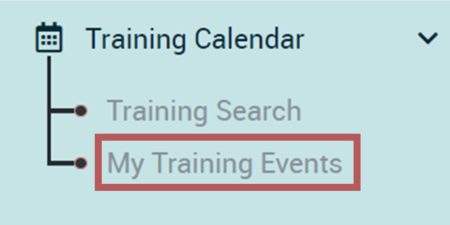
Step 2. Click on Training Calendar
From the navigation bar, click on Training Calendar and then click on My Training Events (see image).
Step 3. Find the Training You Wish to Withdraw From
You will now see a list of your Training Enrollments. Find the training you wish to with withdraw from, then click on the button on the far right labeled Withdraw (see image below).

Step 4. Confirm Correct Training
Confirm that you are withdrawing from the correct training, then click OK.
Step 5. Confirm Enrollment Status
The Enrollment Status for that training must now indicate Withdrawn.
Withdrawal Confirmation
You will receive an email confirming your withdrawal from the training.